Introduction to PhotoshopPhotoshop is a graphic editing program that allows you to create and manipulate images for print, the web, and other media. Photoshop is almost limitless in the ability to manipulate and edit images, but don't let that scare you! I have created many step by step tutorials and challenges to help you learn and take advantage of the many feature of this program.
|
|
Photoshop Warm-Up:
|
5 marks K/U
|
|
Task: You will use the following items in the file (02start.png) to re-create and copy the end product (02end.png). Use in-class demonstration and the tutorial to guide you through the process.
Instructions: In Photoshop, go to File > New > Name it: Mr. Potato Head Original Width: 8 inch Height: 10 inches Resolution: 150 pixels/inch TIP: As you work on your activity keep using SAVE. If you make alterations to your activity but want to have the original then SAVE AS - will allow you to re-name it without affecting the original. |
|
Click on images below to download file.

|

|
Activity 2: Make alternation to Mr. Potato Head-Original
|
5 marks Thinking
|
|
Requirements:
1. Add adjustments (e.g. hue/saturation or colour balance). 2. Add filters (filter gallery). 3. Replace and add 2-3 NEW items from the internet. 4. Add background (colour fill or image from internet). |

|

|

|
Optional: Green Apple Challenge ( EXTRA Marks - 5 marks)
|
Task: You will use the following items in the files to re-create and copy the end product. Use in-class demonstration and the tutorial to guide you through the process.
Instructions: In Photoshop, go to File > New > Name it: Green Apple Width:10 inch Height: 8 inches Resolution: 150 pixels/inch Click on images to download files.

|
Click on final image for tutorial instructions.

|
Photoshop Technique Challenges : 2 days to complete
|
|
|
Once completed:
1. Create FOLDER on your desktop Photoshop Challenges 2. Drag ALL 6 techniques into folder |
| ||


Technique: 3 Ways to blend images together
1. Opacity
The first way we'll look at for blending two images together is by using Photoshop's layer opacity option.
2. Blend Modes
Layer blend modes in Photoshop offer different ways for a layer to blend images together.
Photoshop's 3 most important blend modes, which are Multiply, Screen, and Overlay.
1. Multiply blend mode darkens the image
2. Screen blend mode lightens the images
3. Overlay blend mode increases contrast
Photoshop's 3 most important blend modes, which are Multiply, Screen, and Overlay.
1. Multiply blend mode darkens the image
2. Screen blend mode lightens the images
3. Overlay blend mode increases contrast
3. Layer Mask
Layer masks are great for applying digital edits, or combining images together. They preserve the integrity of the layers and allow you to continuously manipulate your layers without erasing information.
Layer masks are used to temporarily “erase” or “hide” part of the layer. The difference between using a layer mask to “erase” and the eraser tool is that the eraser tool PERMANENTLY removes the pixels. Layer masks can be changed.
-layer mask is filled with WHITE remains visible.
-layer mask is filled with BLACK is hidden.
-layer mask is filled with GREY is blend area (using the gradient)
1. Layer OPACITY option
|
2. Layer Blend Modes (Screen)
|
3. Layer Masks
|
Create your own "blended images"
Task: Pick any 2-3 images to blend into the composition using the following options: layer blending modes, opacity and layer masks.
Instructions:
Before you begin, think about a theme or images that would blend nicely together similarly to the previous tutorials (5 marks - Thinking)
Use the following websites to find your own high quality images.
Once completed, save as "Blending images" (jpg file) and screenshot your layers.
Hint: You need to use contrasting images for better results
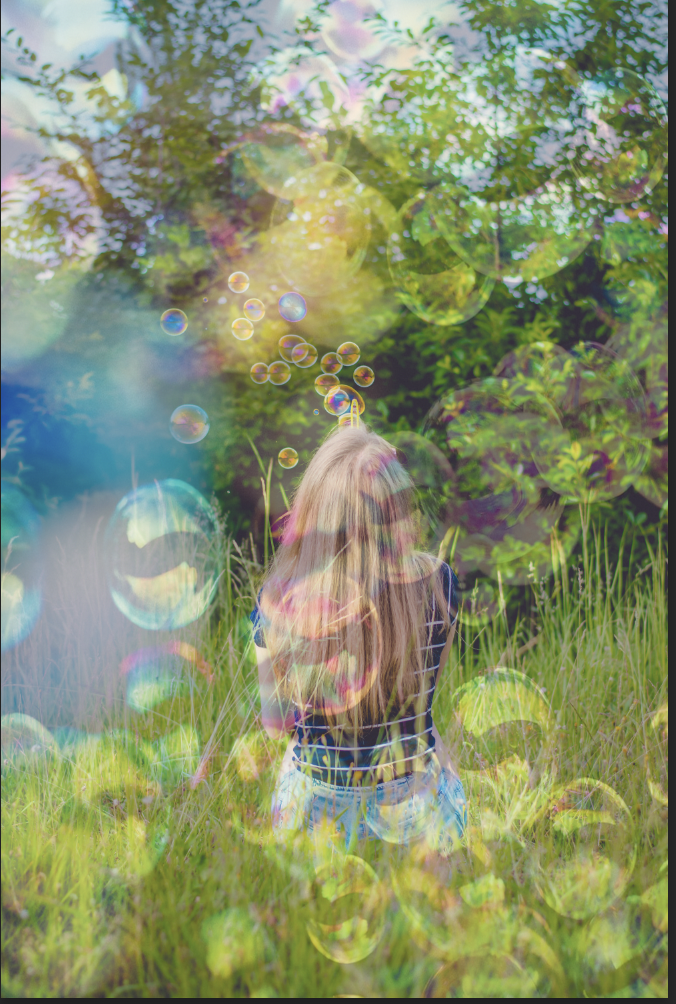
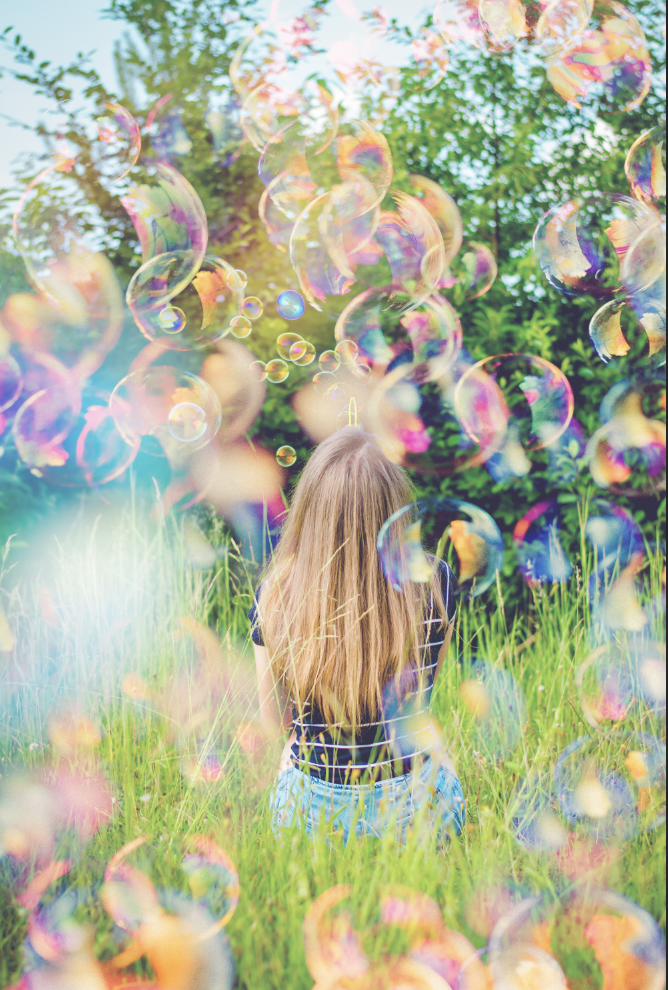
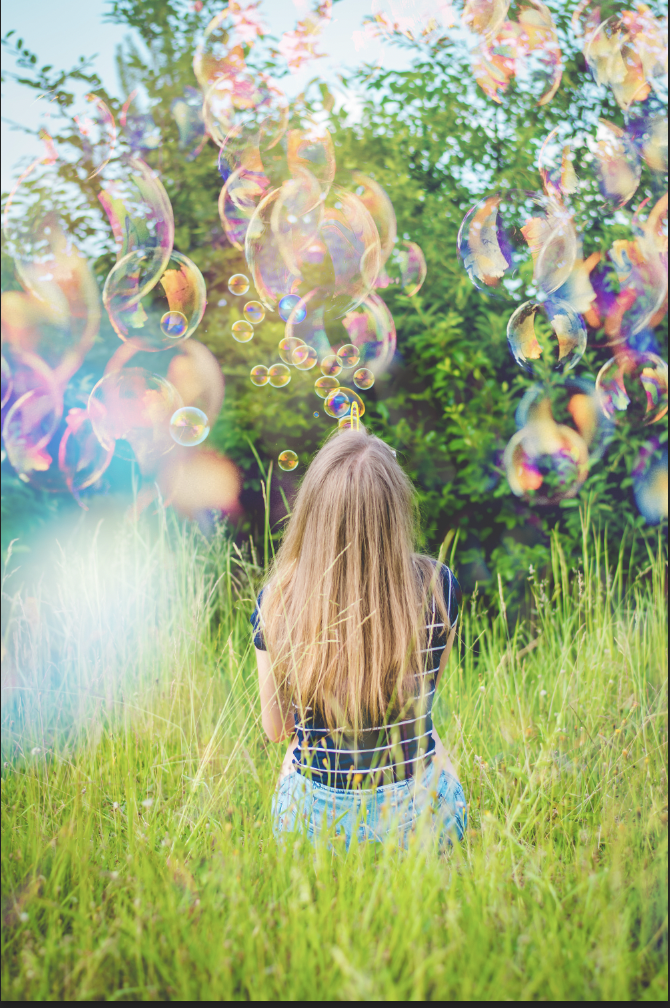
Examples:

|

|
